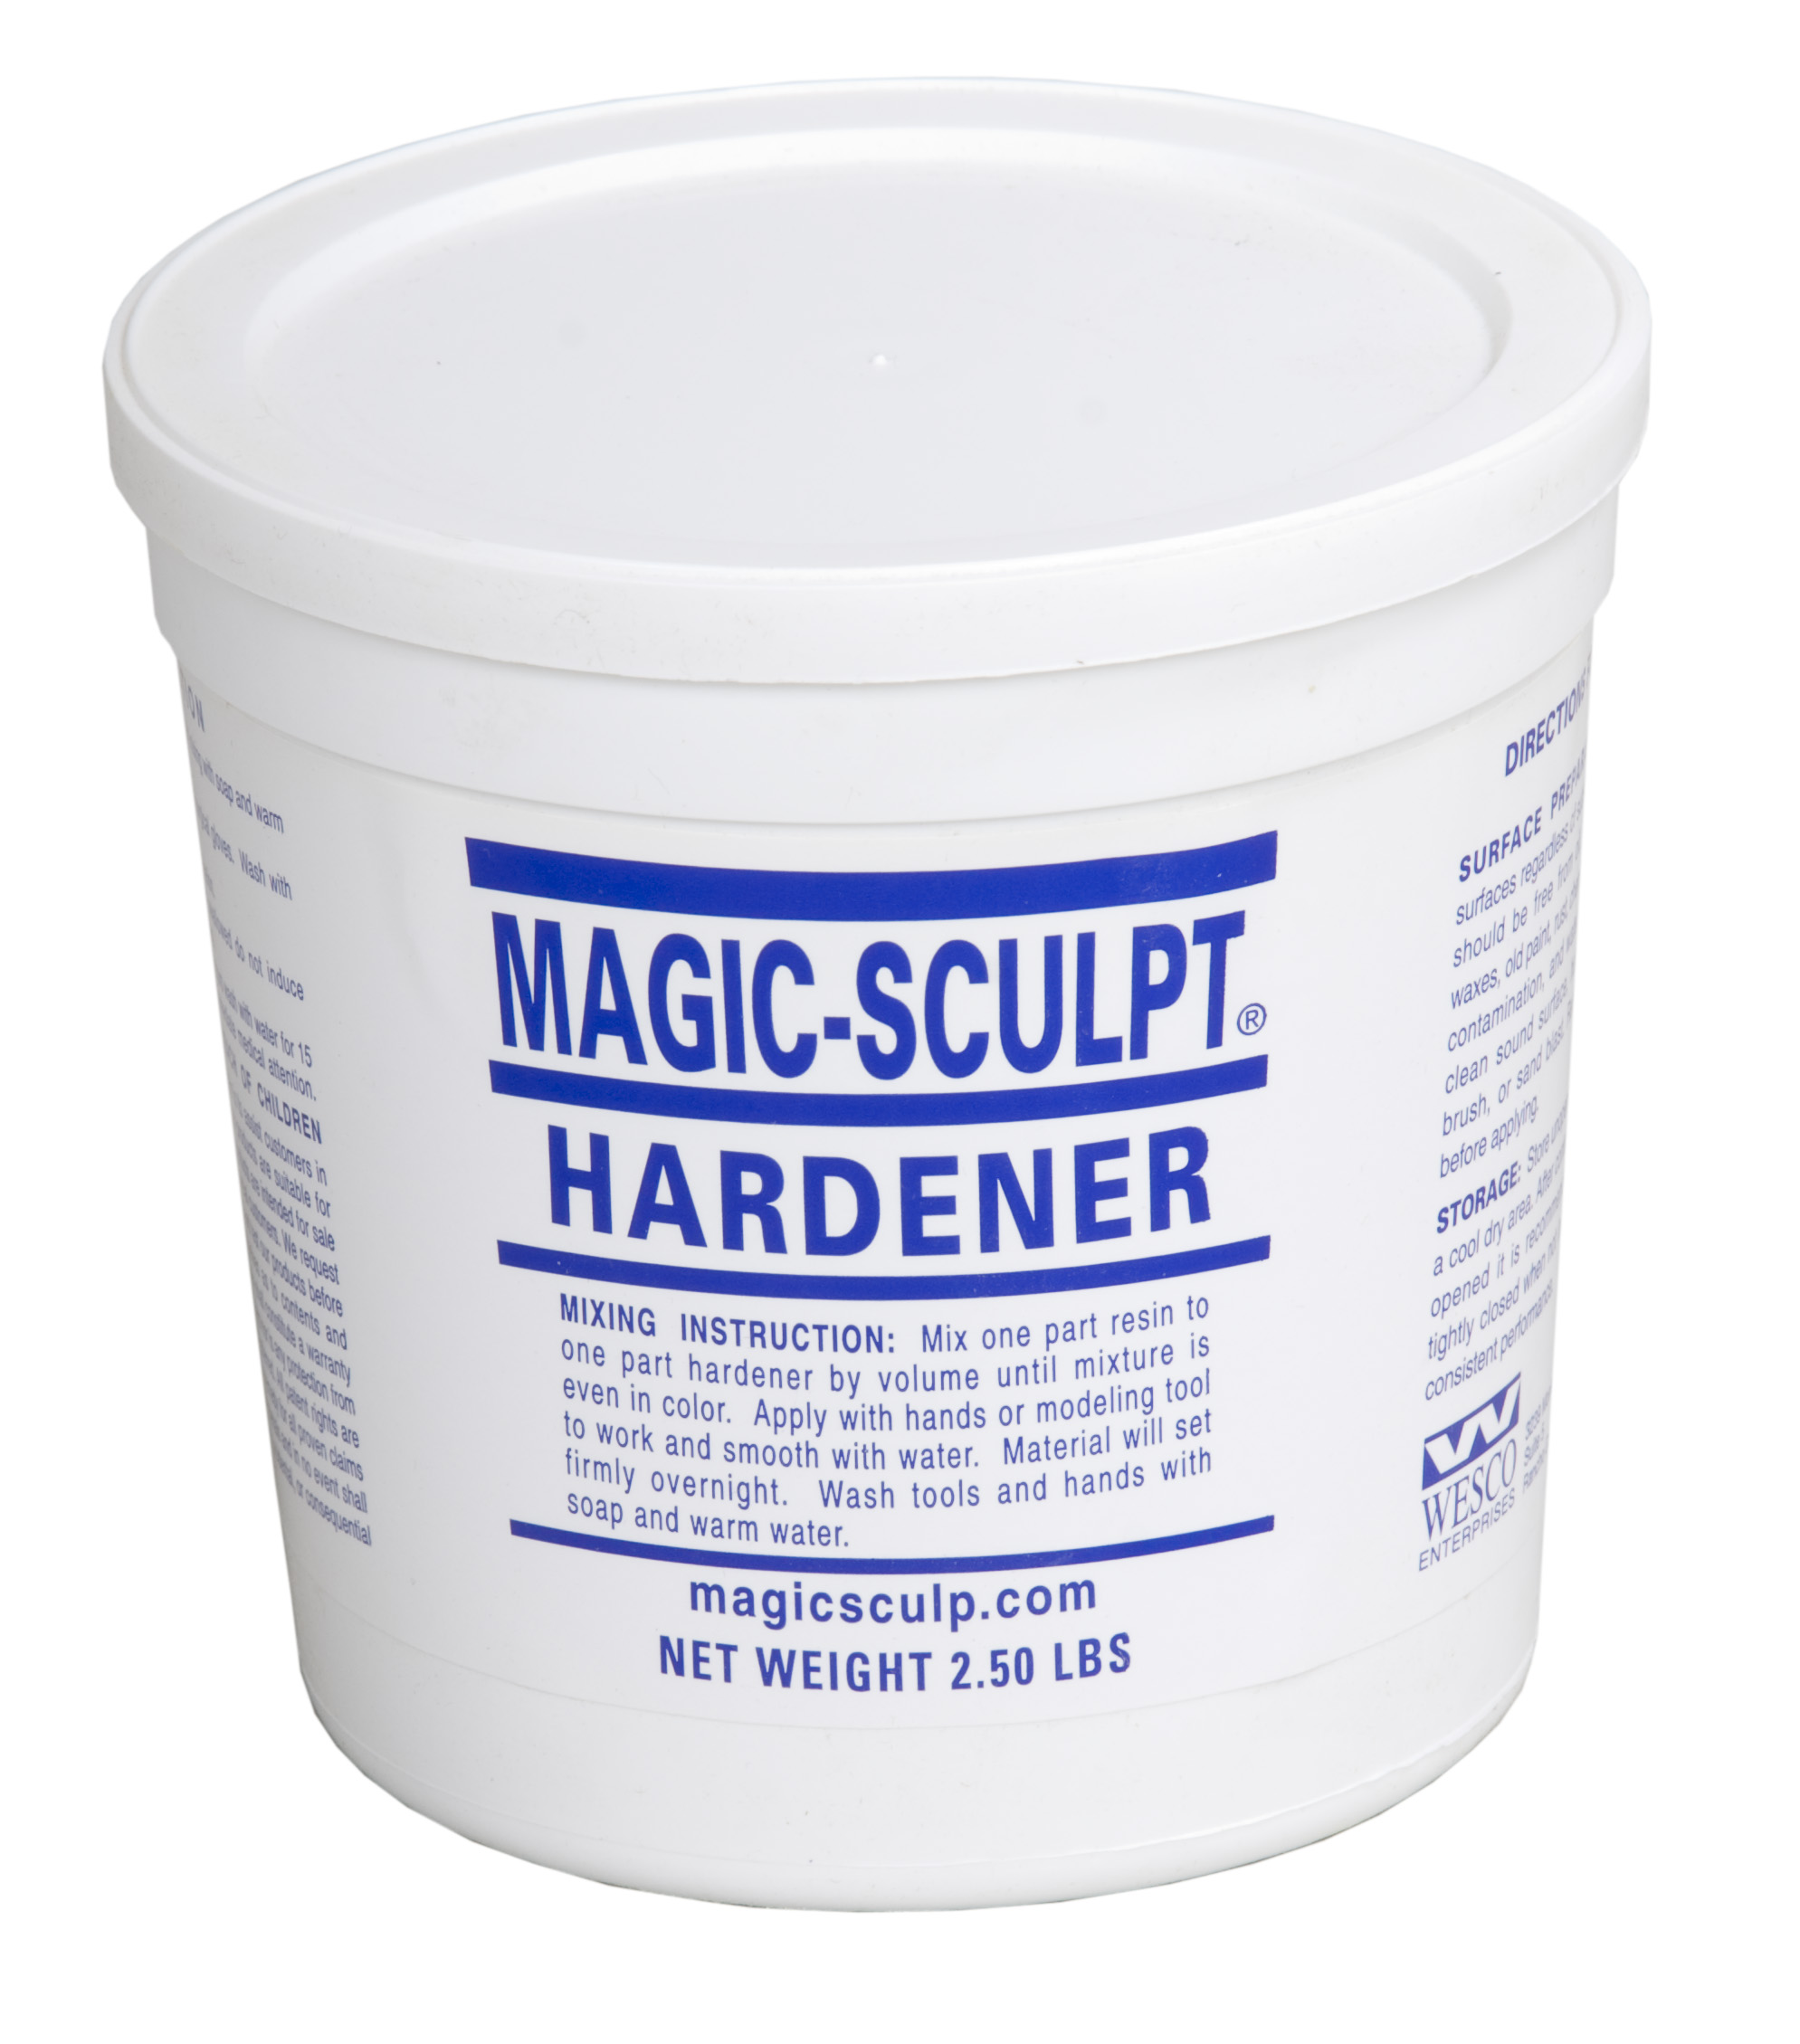
1 lb of Magic Sculpt by Wesco
Two-part Epoxy Putty. Sculpting and Modeling Compound
Manufacturer Info:
Welcome to Magic Sculpt - the two-part epoxy putty specifically designed to meet the needs of modelers, crafters and sculptors alike. One of the few epoxies that will smooth out with water.
Its grain structure is finer than any other product available and will not shrink or crack even when formed in large structures. It can be shaped by hand or with modeling tools, sanded, carved, painted; you can attack it buying with a grinding tool and the cured material will not break apart or lose its shape.
Magic Sculpt will cure at room temperature.
Features:
- Magic Sculpt will adhere tenaciously to most any surface, and can be sanded and painted when hard.
- Easily mixed (Resin and Hardener slightly color coded: mix until one solid color).
- Good adhesion to almost all clean surfaces, including glass.
- Excellent malleability.
- Good sculpting media: as easy to work with as oil clay.
- Surface may be smoothed out with water.
- Water and soap clean up.
- Completely inert when cured.
- Accepts all types of paint.
- Surface may be sanded or ground when cured.
- No measurable shrinkage.
- Good for repairing anchoring bases and armature rods.
- Indefinite shelf life.
- Very forgiving on mixing ratio. Ratio may be varied to slow or speed up time.
- Repairs low pressure leaking pipes of plastic, cast iron, stainless steel, and copper.
Morezmore Experience:
Not only Magic Sculpr is great for building armatures and bases because of its superior strength but it has fine enough grain to actually sculpt from it - see the 2" tall Firefly sculpture on the picture below.
To use Magic Sculpr, you simply mix equal parts of the resin and hardener, then knead together until a uniform color is obtained.
It can then be shaped, sculpted and smoothed with a wet finger or modeling tools.
It will harden in 1 1/2 to 3 hours.
Do not go into the jars with dirty hands - use separate tools! Even minute amount of the other ingredient will start the chemical reaction and will ruin all the entire jar of clay.
If you think you have sensitive skin, use gloves. If gloves are not an option, wash your hands promptly after you finish working with Magic Sculpt with soap and water. Do not touch your face.
Here are more tips courtesy of a customer (Trujarn)
I've been working with Magic Sculpt for a few years now, it is wonderful stuff. Here's a few tips to make your experience with it more rewarding.
0. Wet your finger in water to smoothe it, you don't need to use alchohol. If you use wax carving tools, wet the tip first so the epoxy doesn't stick to it. (I hope this stuff really is non-toxic, as I lick my tools and smooth my work with a finger I've licked.) I also sometimes smooth small areas with a wetted tool.
1. Use waxed paper to sculpt on, it will not stick to it. If the wax paper moves around too much, tape it to the table.
2. If you get interrupted and don't have time to finish your work before the epoxy is going to set up, throw it in the freezer. It will last about a day in there, and you'll be able to pull it out, warm it up a bit, and continue working. Two days is too long.
3. Right after you mix it, it may be very warm and too soft to sculpt easily. Pop it in the fridge for 5 or 10 minutes to cool it off, it will firm up nicely. Any time it gets too warm & soft in the first hour, chill it again. This has the added bonus of extending your working time a bit.
4. You can add very tiny and thin pieces to your work, but if you're applying to an already cured piece, scratch the surface in a cross-hatch pattern where you're going to add fresh epoxy, this will greatly improve the strength of the bond.
5. If you're sculpting miniatures, go slow. Do one detail at a time and let it cure. If you get too ambitious, you'll mangle the area you just worked on while you're focusing on another area. Work on several pieces at a time, add one or two details to each, then let them cure.
6. The hardener starts getting a yellow, kinda crusty coat to it after a few months in the container. Don't fret, just remove it from the container and knead it liberally like bread dough. Keep kneading it until the yellow has blended back into the mass and it is once again a uniform grey. Then put it back in the container.
Approximate Coverage in 1/4in thickness
1lb unit = .5 sq ft
5lb unit = 2.5 sq ft
20lb unit = 10 sq ft
100lb unit = 50 sq ftÂ
Product code: M02054 MOREZMORE 5 lb BROWN Magic Sculpt Sculp Epoxy buying Clay Model Putty


